
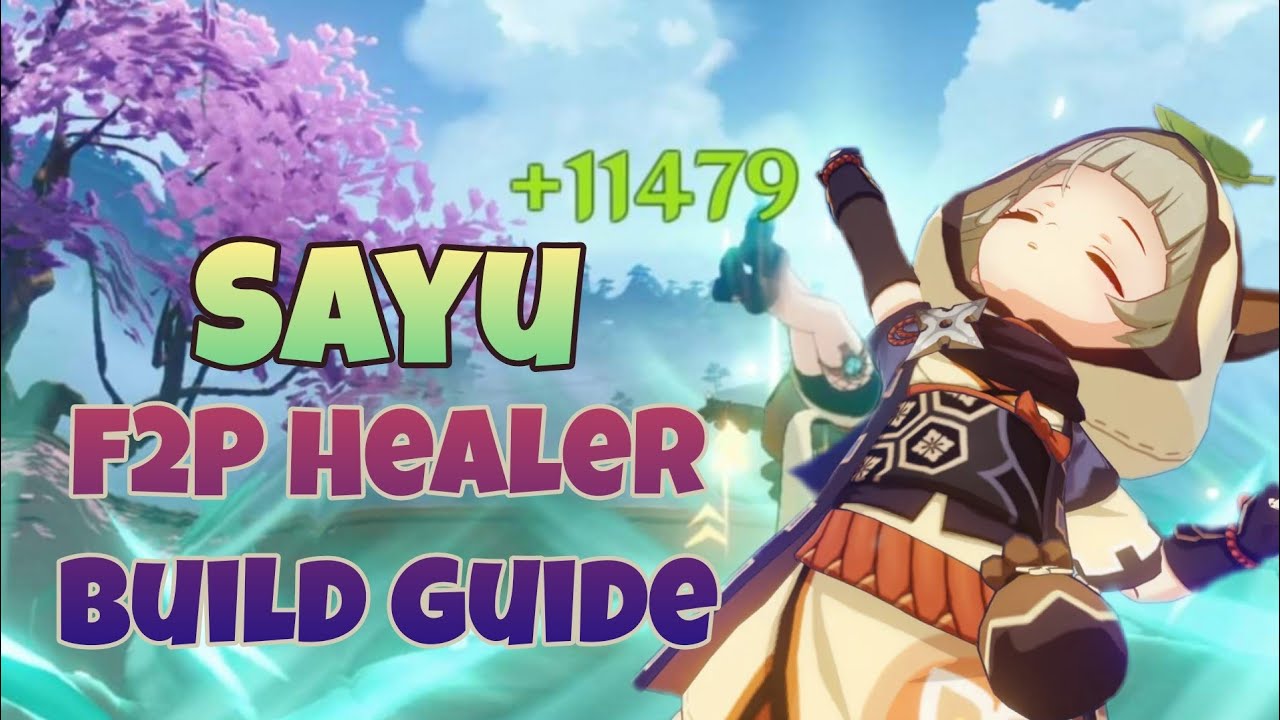
In the diverse world of Genshin Impact, mastering your characters through optimal builds is key to conquering challenges and maximizing fun. The sayu build stands out as a versatile and unique option, expertly blending healing capabilities with Anemo support and damage potential. Whether you’re a beginner or a seasoned player looking to refine your setup, understanding how to optimize Sayu’s strengths can dramatically enhance your team’s performance. This guide will explore everything from best weapons and artifact sets to team compositions and talent upgrades, giving you a comprehensive roadmap to make the most of this charming ninja’s abilities.
Sayu Build Guide: Optimizing Anemo Support & Damage
The sayu build is all about balancing her dual role as a healer and Anemo support character. Her abilities thrive when properly equipped, allowing her to provide sustained healing and synergize effectively with Swirl reactions. An optimized build emphasizes energy recharge to keep her healing skills available and boosts her Swirl damage through specific artifact sets and sub-stats. Strategic refinement of her talents, weapons, and team roles ensures she can adapt seamlessly to a variety of combat scenarios, from domain runs to spiral Abyss floors.
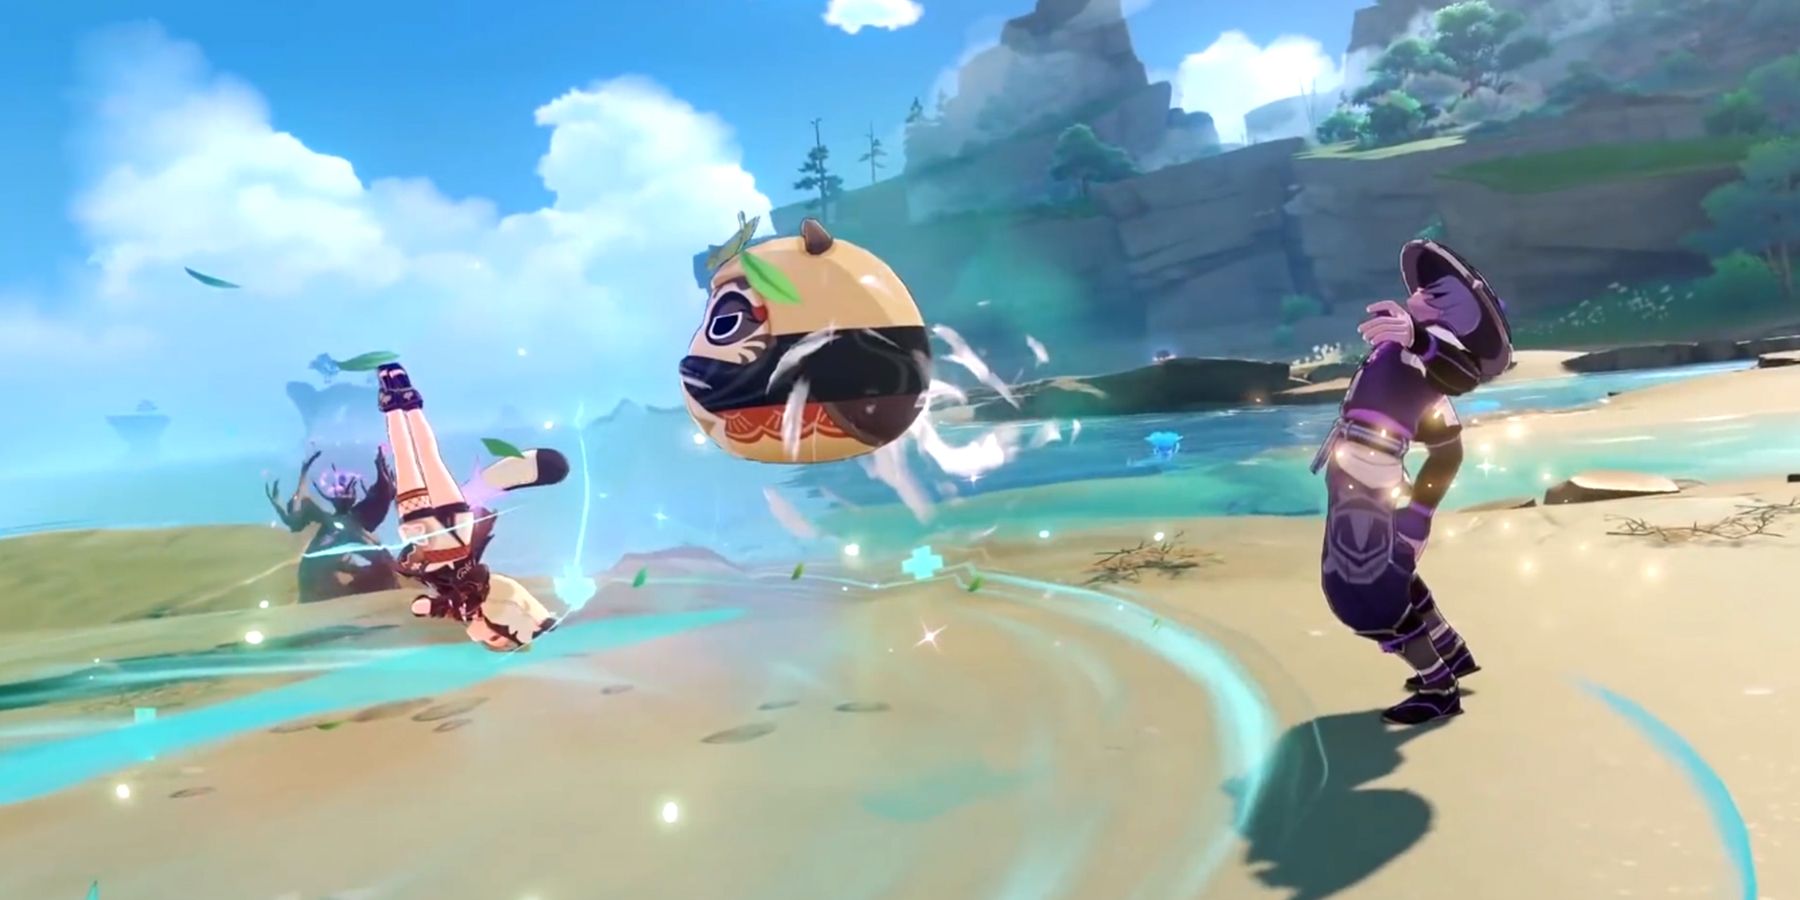
To maximize Sayu’s potential, understanding her core strengths and limitations is vital. Her Swirl reactions not only deal extra elemental damage but also spread particles across the team, enabling more frequent elemental reactions and reducing the energy needs of your more demanding characters. Through a sound sayu build, you can transform her from a simple healer into a versatile support unit capable of contributing significant damage output without sacrificing her vital healing role.
Best Weapons for Sayu: A Comprehensive Tier List
Choosing the right weapon for Sayu is crucial for unlocking her full potential. As a primarily support/healer, she benefits from weapons that enhance her energy recharge, Swirl potency, and healing effectiveness. The Skyward Blade remains a top-tier choice, providing a hefty boost to energy recharge, increasing crit rate, and boosting her overall support capabilities. Its high energy recharge helps keep her skill ready, maintaining team sustainability during prolonged battles.
For players on a budget, alternatives like the Favonius Sword are excellent because of its solid energy recharge and refinement potential. The Sacrificial Sword offers a chance to reset her elemental skill, adding more flexibility in combat, especially when consistently applying Swirl reactions. Lower-tier options include Whiteblind and The Alley Flash, which can work well but lack the specialized synergy of dedicated support weapons. Ultimately, prioritizing weapons that boost energy recharge or elemental mastery will maximize Sayu’s performance.
Sayu Artifact Sets: Maximizing Swirl Reactions and Healing
Artifact sets significantly impact Sayu’s overall effectiveness, especially when tailored towards her support and healing roles. The Vermilion Hereafter set is particularly beneficial because of its focus on energy recharge and burst enhancement, enabling her to cast her elemental burst more often—crucial for healing and Swirl reactions. Parsing out artifacts with high sub-stats in HP, energy recharge, and elemental mastery complements her supportive duties perfectly.
Another potent set is Maiden Beloved, which specifically enhances healing output. Equipping two pieces of Maiden Beloved increases healing effectiveness, ensuring Sayu’s pure healing capabilities are maximized under any circumstances. Combining it with Swirl-focused sets like Vermilion Hereafter can create a hybrid artifact build, allowing Sayu to support her team with constant heals while still providing Swirl damage and particle spread. The ideal setup depends on your team composition and whether you prioritize healing or elemental reactions.
Sayu Team Compositions: Synergies and Example Teams
A well-constructed team is crucial to exploit Sayu’s full support and damage potential. Her ability to generate elemental particles through Swirl reactions makes her an excellent enabler for characters like Kazuha, Venti, or Sucrose, who capitalize on crowd control and elemental resonance. Including a Pyro or Electro unit in the team enables specific reactions, such as Swirl Pyro or Swirl Electro, which can inflict additional elemental damage and debuffs on enemies.
For example, a popular team composition includes Sayu, Kazuha, Bennett, and a damage dealer like Hu Tao or Eula. Sayu provides healing and Swirl reactions, Kazuha boosts elemental damage and resets elemental skill cooldowns, and Bennett’s attack buff and healing create a resilient core. Such compositions focus on leveraging particle generation and elemental resonance to maximize throughput. You can also craft niche teams around her specialties, emphasizing her flexibility as both a healer and support.
Sayu Talents and Constellations: A Breakdown for Efficient Upgrading
Prioritizing talents is paramount to unlock Sayu’s versatility. Her elemental skill, Yaoyao Launch, is fundamental for applying Swirl, increasing damage, and facilitating healing. Upgrading this skill for a shorter cooldown and increased energy gain is usually the top priority. Her elemental burst, Yoohoo Art: Fog Dissolver, turns her into an effective healer and Swirl reactor, so investing in this talent boosts her overall support capacity.
Constellations further enhance her capabilities—particularly C1 and C2. C1 unlocks a healing bonus when her elemental burst hits targets, heightening her healing throughput. C2 increases the amount of healing provided, which is hugely beneficial for sustained support. Constellations beyond C2 improve her overall utility but are less critical early on. Focusing on talents first is key, and constellation upgrades should be pursued as resources allow.
Sayu Build for Healing: Prioritizing HP and Energy Recharge
A dedicated healing sayu build centers around maximizing her survivability and sustain. Prioritize artifacts and sub-stats that boost her HP, as increased health pools lead to more potent healing effects. Equipping her with energy recharge stats ensures her elemental burst is ready when needed, creating a steady flow of healing during intense combat. This build is especially useful in content that demands sustained healing over burst damage.
A well-rounded healing sayu build also benefits from artifacts like Maiden Beloved, which provide flat healing percentage increases, and Crimson Witch of Flavors, if you want to add some damage boost to her Swirl reactions. Focused investments into HP and ER allow her to serve as a reliable pillar of support, keeping her team healed and reactions flowing consistently. Combining these elements guarantees she remains operational throughout lengthy fights.
Sayu Build for Damage: Focusing on ATK and Crit Stats
While primarily a support, a sayu build tailored for damage output shifts focus toward boosting her attack and crit stats. Equipping her with weapons and artifacts that enhance elemental mastery, attack, and crit rate/damage allows her to contribute more significantly to overall DPS, especially in hybrid setups. A damage-oriented Sayu can effectively trigger Swirl reactions that deal respectable damage, adding another layer to her toolkit.
To achieve this, prioritize artifacts with sub-stats like ATK%, Crit Rate, Crit DMG, and Elemental Mastery. Using weapons like the The Alley Flash or Sacrificial Sword can help, provided you focus on sub-stats and refinements to maximize crit consistency. Combining this setup with her talent upgrades will ensure her contributions extend beyond healing, becoming a formidable damage dealer in the right team context.
Sayu Build: A Beginner’s Guide to Getting Started
For newcomers, the key to a solid sayu build lies in focus and simplicity. Start by leveling her talents to unlock her healing and support abilities early on. Use weapons like the Favonius Sword or Whiteblind, which are accessible and effective. Focus on artifact farming—aim for sets like Maiden Beloved or Virmenion Hereafter, depending on whether support or healing is your priority.
As you progress, experiment with different stat priorities based on your team needs. Beginners should aim for balanced sub-stats with energy recharge, HP, and elemental mastery. Remember, a proper sayu build doesn’t necessarily require the rarest artifacts or weapons—strategic investment in her talents and thoughtful artifact choices can make her a reliable team backbone from early levels onward.
Sayu’s Ascension Materials: A Comprehensive Farming Guide
Efficiently farming Sayu’s ascension materials is essential to unlock her full potential. Key materials include Perpet sustainability of her healing and support abilities, so gather enough Naku Weed, Naku Weed Spores, and Amakumo Fruit from Inazuma. Other ascension materials, such as Divining Scrolls and Fatui Mask, are sourced from specific domains or enemies, so plan your farming routes accordingly.
To optimize your ascension, map out daily expeditions and weekly bosses, focusing on domains that yield these materials. Upgrading her talents and constellations demands significant resources, so invest wisely. Having a steady supply of ascension materials ensures you can level her fast enough to keep pace with your evolving team needs, and making the process systematic will save considerable time.
Sayu vs. Other Anemo Characters: A Comparative Analysis
Compared to other Anemo characters like Venti, Sucrose, or Kazuha, sayu build emphasizes versatility—especially her dual role as a healer and support, which sets her apart. Venti specializes in crowd control and energy regeneration, while Kazuha focuses on boosting elemental damage and Swirl reactions. Sayu, however, blends supportive healing with utility, making her uniquely adaptable across various team compositions.
While she may not reach the raw damage or crowd-control potency of her peers, Sayu’s strength lies in resilience and ongoing support. Her sayu build can be tailored to maximize healing or enhance Swirl reactions accessible to her, providing flexibility in playstyle and team strategy. This comparative advantage makes her an excellent pick for players seeking a multi-functional character capable of both healing and supporting elemental reactions with a charming ninja flair.
Conclusion
The journey to mastering the sayu build involves understanding her roles as both a healer and an Anemo support, efficiently selecting weapons and artifacts, and customizing her talents and team placements. Whether you’re aiming for a healing powerhouse, a damage contributor, or a hybrid, her versatility makes her a valuable addition to any roster. Strategic farming of ascension materials and savvy gear choices will allow you to unlock her full potential, ultimately enabling her to support your team through every challenge with resilience and finesse. With dedication and thoughtful optimization, your Sayu can become an indispensable ally in your Genshin Impact adventures.
Related: https://genshin.guide/genshin-impact · Genshin impact guide